Thursday, January 11, 2007
furniture project 2
step 7) build the face frame
the face frame is the part in the front of most peices like this that FACE the person looking at it. without it, the ends of the carcase face you and i think that makes the peice look cheap. (you might notice that the picture of the wine cabinet i was basing my design off of used this method. (go here to see it)
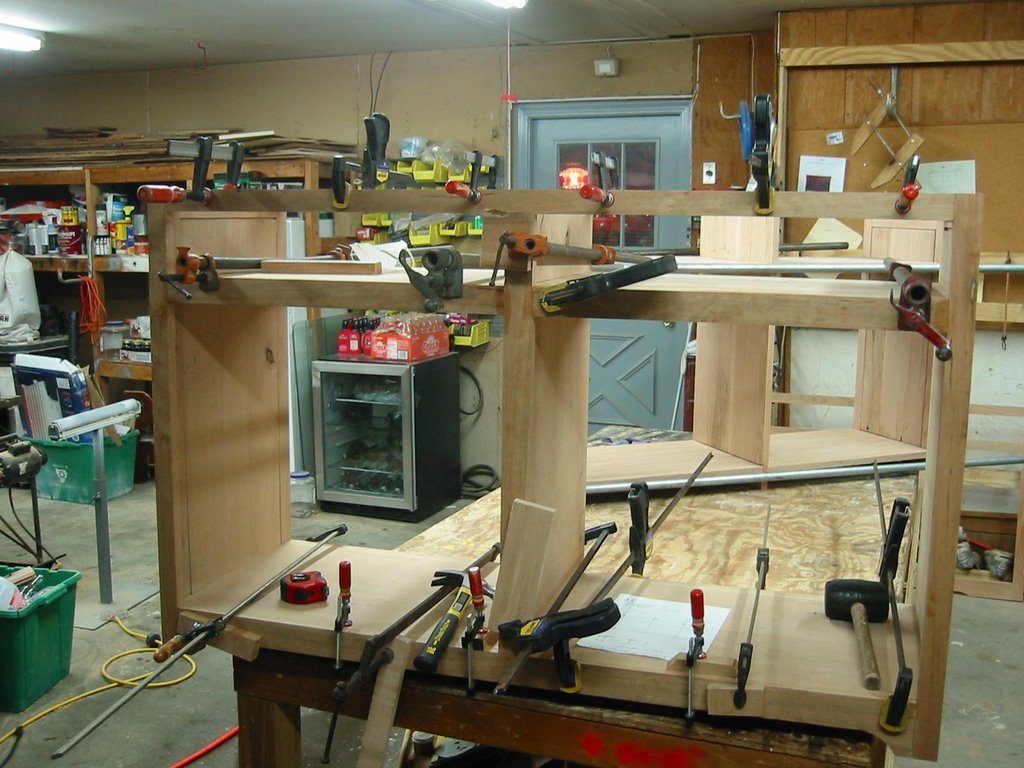
building the face frame wasn't too hard. In fact, it was one of my favorite parts of the project. I basically cut the peices to length, cut a dato in them, and stuck them on the front with glue and clamps.
in the picture below you can see the many clamps I used to hold the wood on while the glue set.
face frame
step 8) admire your progress
I cut a peice of 1/4 plywood for the back. this plywood was pre-stained and finished, so in the picture below it looks much darker than the unstained wood I have been working with.
I took the clamps off of the face frame and temporarly stuck it on the back so I can see how it looked.
this is how it looked:
very handsome
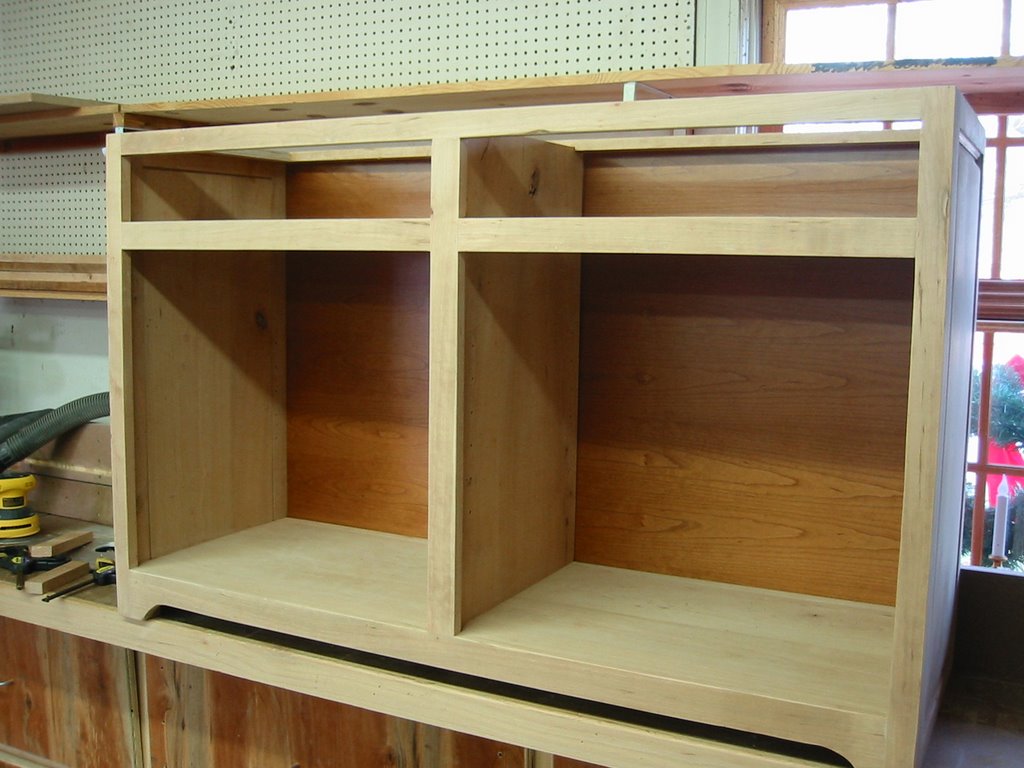
It is much easier to see the face frame here. You might also notice the gental sloping do-hicky on the bottom. It is easy to overlook on the pictures above. It is called a skirt, I guess.
I also might add that the face frame gives a little more thickness to the front of the peice. If I didn't use a face frame, the front would all be about 7/8 inches thick. Instead, most of the face frame peices were 1 1/2 inches thick or 2 inches thick.
step 9) make the door rail and styles
AS you remember from looking at the design here, the doors hold glass so you can see the impressive amount of wine inside.
Making doors that hold glass and are not flimsy is no trivial task. I decided to make the doors the same way I made the side panels (see step 4). Instead of putting a wooden panel in the inside, I will jsut put glass inside.
each side of the door (rail or style, to use the proper parlance) required 3-4 runs through the router or table saw to create a rabbet, dato, or the decrotive rabbet. To make 4 doors, it required 16 peices of wood, so there was alot of cutting to be done. This also meant that many opportunities to mess up or create another dato in my flesh and bone*.
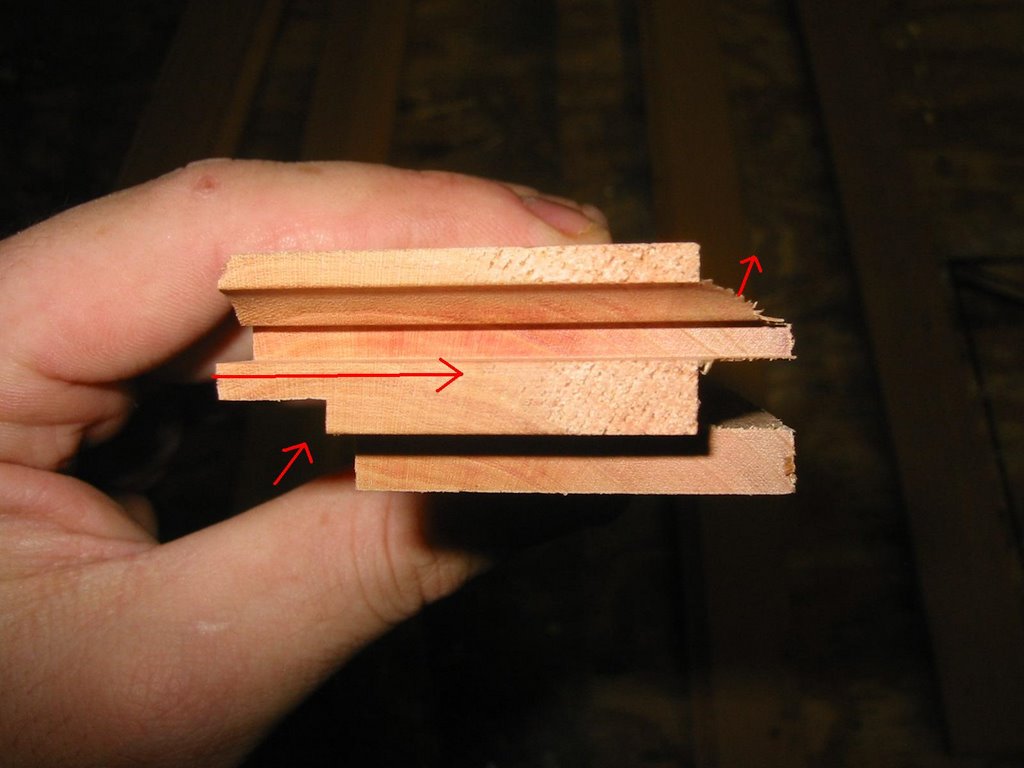
You can see 3 runs in the picture below on one of the rails. The arrows show which way the rabbet goes. 2/3 of the cuts go "into the picture".
rabbets and such in door rail
step 10) glue up the doors.
Then I glued the doors. I made a jig out of plywood and made sure it was at 90 degrees so that my doors would be square (or rectangle, I suppose). This is on the left and bottom of the picture and has screws in it. Then I glued and clamped em'!
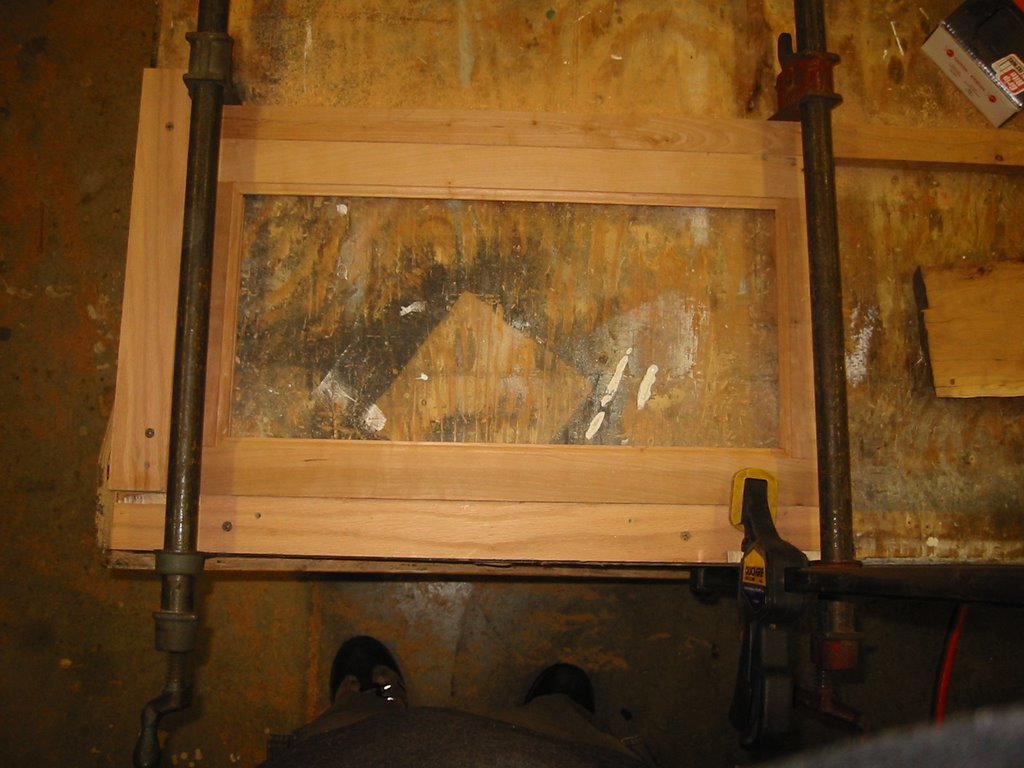
foo
foo
foo
foo
foo
foo
foo
foo
step 11) Make a horrible mistake
In my (limited) experience making furniture, it is incredibly easy to make mistakes that cause major set backs. To not make a mistake that ould cost me a whole day of work is rare in a project of this scope. Luckly this one was easily mitigated (although It yeilded less than perfect results), and did not require an entire day.
When I went to put the top on the carcase I noticed it was too small. So, I added another board to it. My original top board had only two boards and thus one joint. Look at your table tops at home. If they are solid wood, you will notice they are made of many smaller boards. If they are well made, they have very small joint lines. like this one:
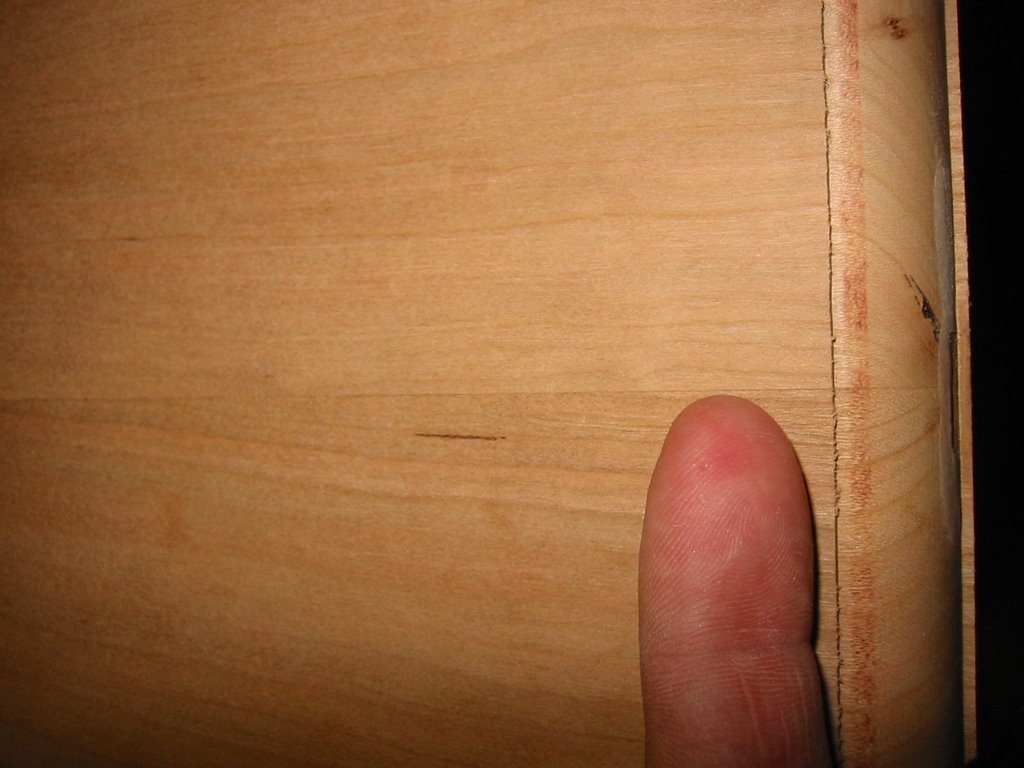
This is a good joint. notice you can hardly see it! Booya!
foo
foo
foo
foo
foo
foo
foo
foo
Then I had to add the other board on (to add size) and I ended up getting a bad joint. This joint is big and full of glue. It is unsightly, but so far no one but me has noticed.

foo
foo
foo
foo
foo
foo
foo
I thought about completely re-doing the entire top, but decided just to keep the imperfection and not waste anymore wood or time.
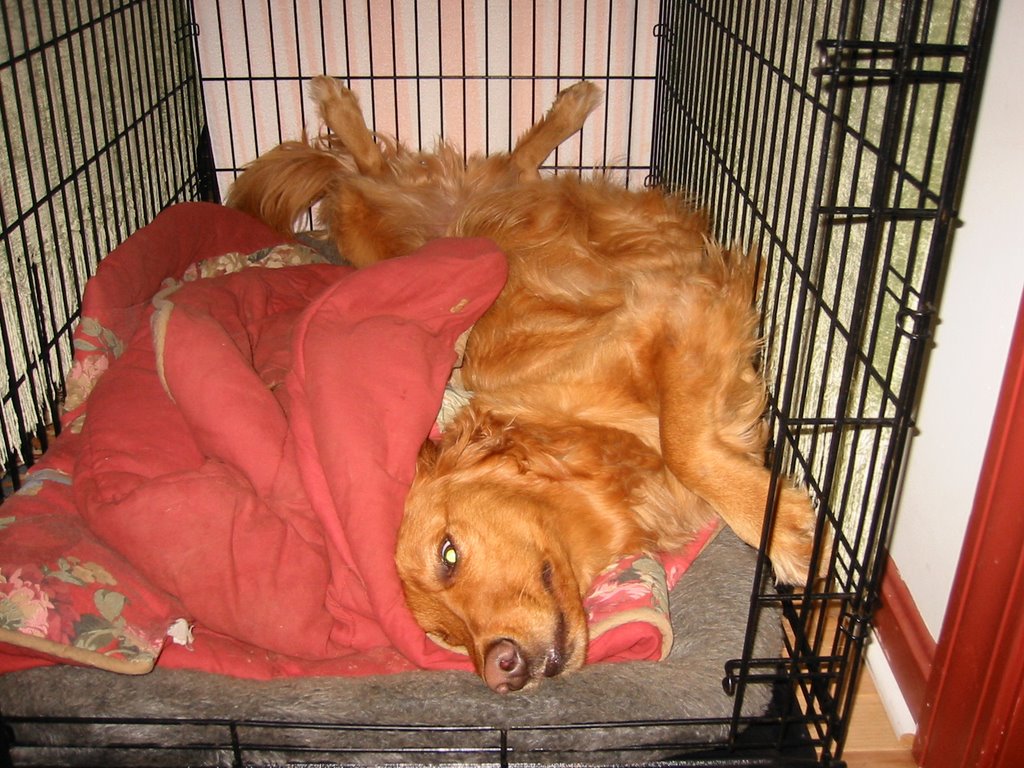
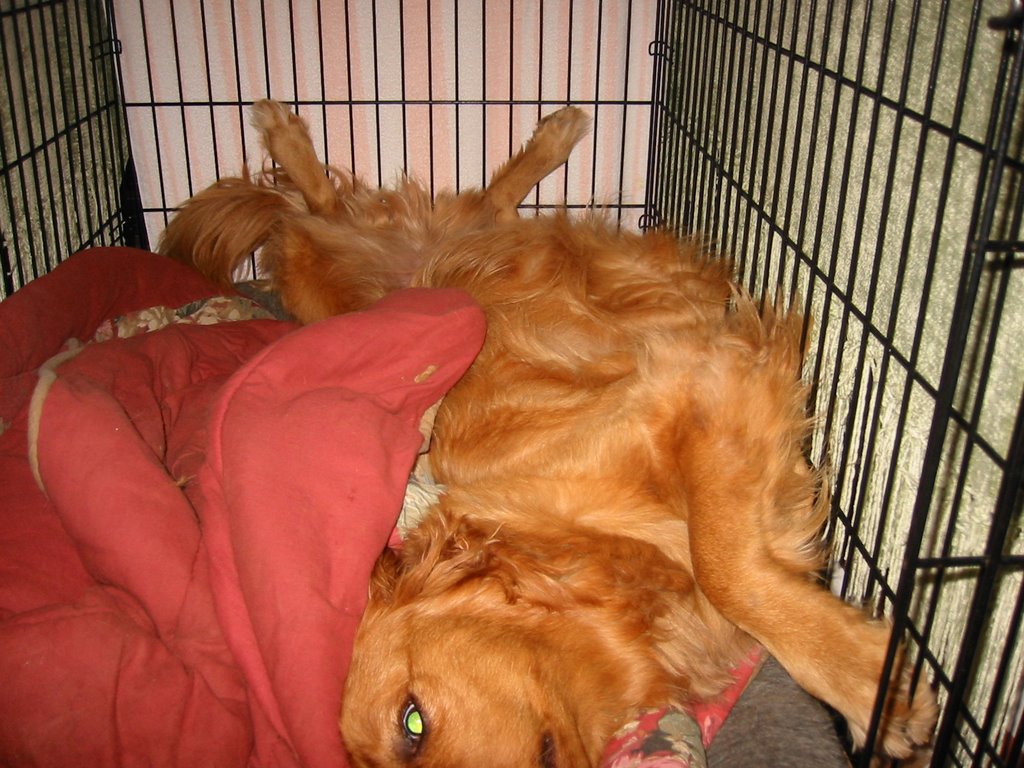
step 12) take a seductive picture of coop.
Cooper! you ol' dog! (to fully appreciate this caption, please go here)
foo
foo
foo
foo
foo
foo
foo
foo
I think this is enough for now. I should get back to work.
next: drawers, wine rack, stemware holders, finishing, and hardware!
* again, the story about the day I created a dato in my fingie to come!
Thanks for PNP of Coop.

<< Home
![]()